Chatroom 💬: A Java Chatting Application
Viktor Ahmeti.2 years ago
While studying at Cacttus Education I had a class where we learned about Spring 🍃, a Java Framework for creating enterprise applications. The final project for this class was to create a working MVC Application with Spring Boot.
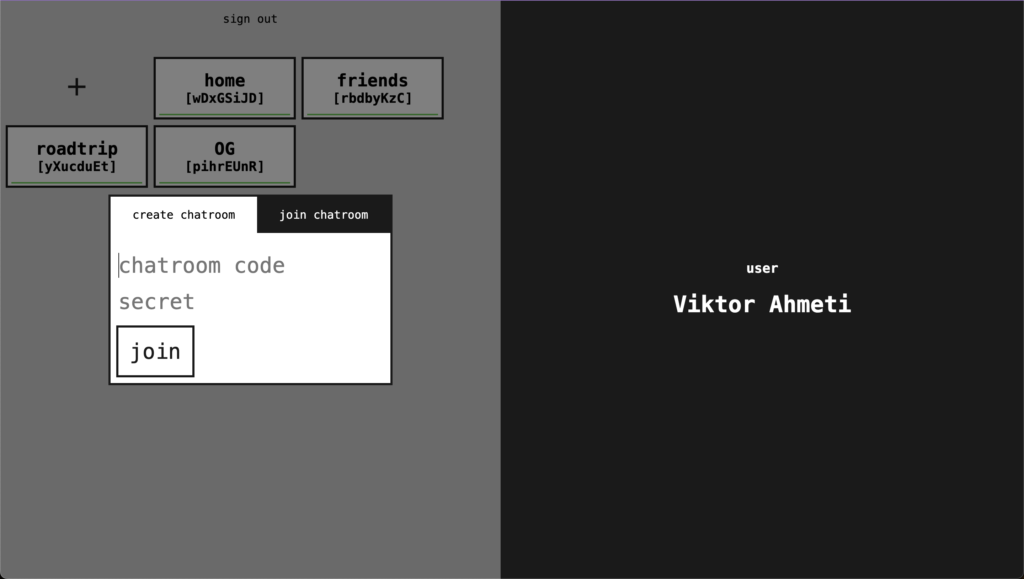
The project I chose was to create a Chatting Application called Chatroom. This application allows users to create chatrooms and to join them by knowing the chatroom’s secret passphrase. The application involves Authentication and Authorization, special options for admins, chatting functionality, and a very cool frontend. What this application does NOT include is good coding patterns, cleanliness, or attention to detail. Sorry. But it looks really cool though…


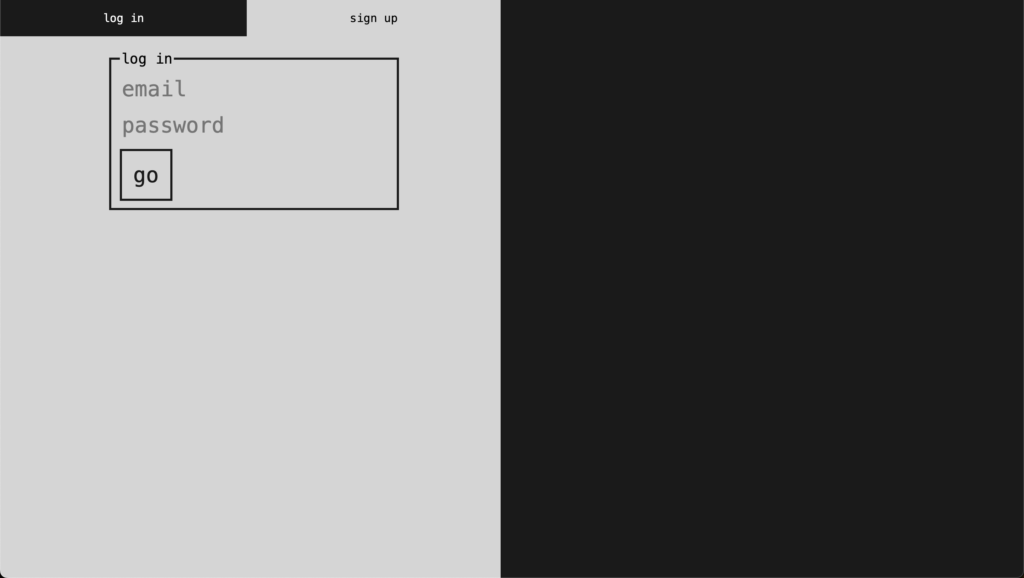
The design for the application may seem very unconventional. It looks very old (on purpose) but it also is a half-screen design. The right side of the monitor was destined for showing extra information like who was typing, who was online, and other cool things. Let’s explore some parts of this application.
The Database Schema
The Database Schema for this application is really simple. The most basic entity is the USER entity which stores information about users, like:
| USER | TYPE |
| first_name | varchar(255) |
| last_name | varchar(255) |
| varchar(255) | |
| password | varchar(255) |
One fun fact about Chatroom is that the password is stored in plaintext because we hadn’t learned about hashing when I did this. One other really fun fact is that users’ sessions are stored in…drumroll…the same database. If you don’t know, a session is a unique key to identify a user by their cookies. Here’s some columns from the Sessions table:
| SESSION | TYPE |
| id 🔑 | binary(36) |
| user_id 🗝️ | bigint(20) |
| ip_address | varchar(255) |
| expire_date | datetime(6) |
The id of the session is the session key because I didn’t know about indexing other columns back then. The user_id field is a foreign key, forming a one-to-many relationship between users and sessions because one user can have many active sessions (they can be logged in many devices).
The next important entity is the Chatroom entity which stores information about the created chatrooms:
| CHATROOM | TYPE |
| chatroom_code | varchar(255) |
| owner_id 🗝️ | bigint(20) |
| password | varchar(255) |
| display_name | varchar(255) |
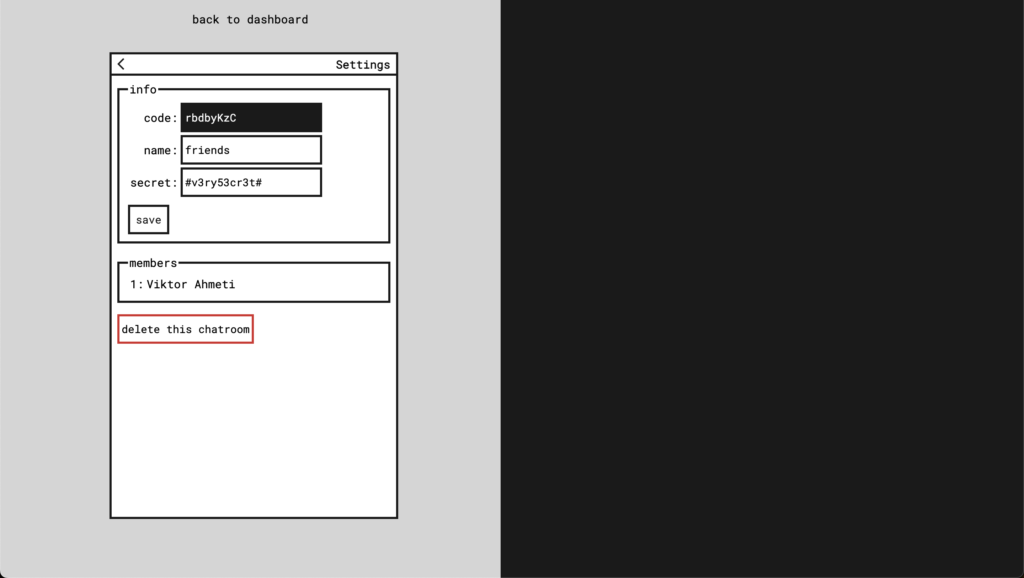
Since one user can create many chatrooms, the owner_id is included as a foreign key forming a one-to-many relationship between users and chatrooms.
But we must not forget that users must join chatrooms in order to interact with them, so this information must be stored in the database. Since a user can join many chatrooms and a chatroom can have many users, a many-to-many relationship is created between this entities…let’s break this relationship down with an extra table:
| CHATROOM_MEMBERSHIP | TYPE |
| chatroom_id 🗝️ | bigint(20) |
| member_id 🗝️ | bigint(20) |
| joined_since | datetime(6) |
Very nice. Last but not least, the Chat entity which represents a chat sent in a chatroom:
| CHAT | TYPE |
| chatroom_id 🗝️ | bigint(20) |
| sender_id 🗝️ | bigint(20) |
| text | text |
| sent_time | datetime(6) |
Notice that a chat forms links with the User table and the Chatroom table to know who sent it, in what chatroom, and at what time. Here’s a screenshot of the database schema from phpmyadmin:

Notice that the entities have a _entity postfix which was automatically added by Hibernate.
The Application Architecture
The application has a very simple architecture mostly based on MVC. The following image explains the architecture:

Notice that for every request the client makes, Spring Boot gets the correct data for that user from the database (based on cookies), then it gives the data to Thymeleaf which generates some custom HTML for that user based on a template.
Thymeleaf is a Template Engine which builds HTML on the server-side and sends it pre-made to the client. You may be wondering does chatting work in this same manner? Let’s explore that!
The Chatting Architecture
After the chatting page is loaded, the client JavaScript sends a request to the server every 1 second to get the latest new messages, if there are any. This pattern is called polling since we constantly poll the server for new data.
The better way would be to use websockets so the server could tell the client if there is any new data. Authentication for websockets was hard to achieve for me back then so I stuck to this very basic way to get the data. You can see this being done in the index.js JavaScript file:
let updateInterval = setInterval(() => {
    updateChat();
}, 1000);
The updateChat() function requests all new chats from the server and puts them on the screen. Here’s how the database query looks on the server:
@Query("SELECT new com.wictro.chatroom.dto.response.ChatResponse(u.id, u.text, u.sentTime, v.id, v.firstName, v.lastName) from ChatEntity as u join u.sender v WHERE u.chatroomEntity = ?1 AND u.id > ?2")
List<ChatResponse> getNewChats(ChatroomEntity chatroom, Long lastChatIndex);
By knowing the id of the last chat in the frontend, we are able to only get the chats that have an id greater than that (since chat ids are auto-incremented). Let us see some code now!
Authentication and Authorization
Authentication and Authorization is all done manually throughout the application. It would be wiser to use Spring Security for both of these but, again, I didn’t know better. To create a user we do this:
@PostMapping("/signup")
public String postSignup(@ModelAttribute UserEntity user, HttpServletResponse response, Model model) throws IOException {
    //if the user exists, tell them
    if(authService.userExists(user.getEmail())){
        model.addAttribute("user", new UserEntity());

        response.sendRedirect("/auth/signup?exists=true");

        return null;
    }

    user.setCreatedAt(new java.sql.Timestamp(System.currentTimeMillis()));

    //save user
    userEntityRepository.save(user);

    //redirect to login
    response.sendRedirect("/auth/login?success=true");

    return null;
}
The comments tell you enough. And logging in would be like this:
@PostMapping("/login")
public String postLogin(@ModelAttribute LoginModel userInfo, HttpServletResponse response, HttpServletRequest request){
    //get user with these credentials
    UserEntity loggedInUser = userEntityRepository.findByEmailAndPassword(userInfo.getEmail(), userInfo.getPassword());

    //redirect if credentials wrong
    if(loggedInUser == null){
        try {
            response.sendRedirect("/auth/login?nomatch=true");
        } catch (IOException e) {
            e.printStackTrace();
        }

        return null;
    }

    //create session cookie, store in DB, and set in HTTP header
    UUID uuid = authService.saveSessionInDatabase(loggedInUser, request);
    authService.setClientSessionCookies(response, uuid);

    //redirect to dashboard
    try {
        response.sendRedirect("/dashboard");
    } catch (IOException e) {
        e.printStackTrace();
    }

    return null;
}
All throughout the code, if the user needs to be authenticated to see something we manually call the authentication service to check if the user is valid, like this:
  UserEntity user = authService.getLoggedInUser(request.getCookies());

  if(user == null)
      return null;
And if the user needs to be authorized, like changing the name of a chatroom (which only owners can do) we again do everything manually through the services, like so:
if(!chatroom.getChatroomOwner().equals(user)) {
    return "error-templates/unauthorized";
}
And that’s it for the authentication and authorization. Everything else in this application is basic create, read, update, and delete operations for all the entities we described above. See the code for yourself and everything will make sense.
Running the Application
It is very straightforward to run this application on your computer. First, clone the repository on Github, using the following command:
git clone https://github.com/Wictro/chatroom.gitOnce you have the repository open it with an IDE, like IntelliJ, and find the application.properties file in the resources folder. Change the following properties in the file:
server.port={your_desired_port)
spring.datasource.url=jdbc:mysql://localhost:{your_db_port}/{your_db_name}?serverTimezone=UTC&useLegacyDatetimeCode=false
spring.datasource.username={your_db_username}
spring.datasource.password={your_db_password}
Make sure that you have a MySQL database running on you computer, there’s many online tutorials if you don’t know how to do this. If you set all of these up then you can start the application directly with the play button on your IDE or you can do it manually by installing Maven, and then running the following 2 commands:
mvn clean install
mvn spring-boot:run
Now, just open your browser and go to localhost:{your_port} and you should see the login screen. Congratulations 🎉🎉🎉.
Conclusion
This application is a testament to how much one can do with so little. Even though I used bad coding practices and had half-good frontend skills I was able to create a working chatting application, albeit slow and unsafe. If you liked this project, subscribe to my Newsletter by submitting your email below so you won’t miss out on my projects and blogs!
← All projects
